Drywall Patching Timing Tips
Drywall patchings are an essential part of maintaining wall integrity and appearance. The optimal time for drywall patchings depends on various factors, including environmental conditions and the nature of the damage. Proper timing ensures the patch adheres well and remains durable over time.
Drywall patchings are best performed during mild weather conditions, avoiding extreme heat or cold which can affect adhesion and drying times.
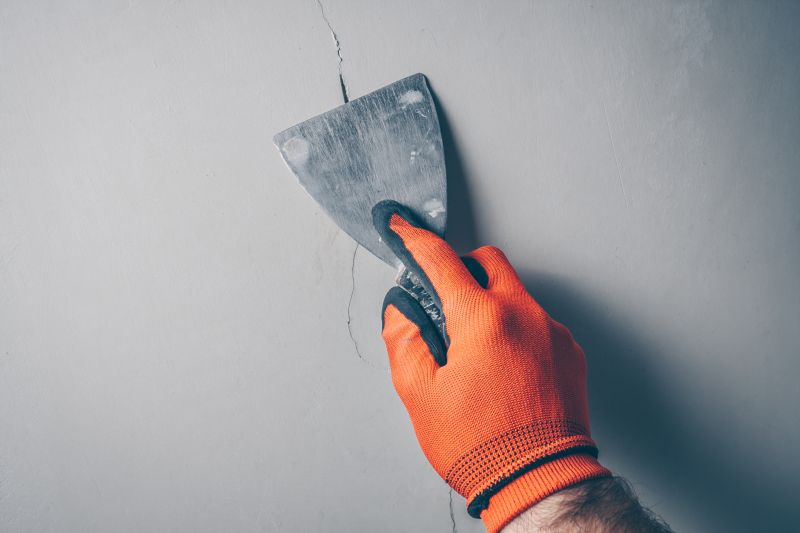
Timing patchings after minor damages or cracks appear prevents escalation and maintains wall integrity.
Perform patchings prior to painting projects to ensure a smooth, uniform surface.
Immediate patching after damage minimizes the risk of further deterioration or moisture intrusion.
Spring offers moderate temperatures ideal for drywall patchings.
Early summer provides warm, dry conditions suitable for patching.
Autumn's cooler weather allows effective drywall repairs before winter.
Ways to make Drywall Patchings work in tight or awkward layouts.
Popular materials for Drywall Patchings and why they hold up over time.
Simple add-ons that improve Drywall Patchings without blowing the budget.
| Season | Best Conditions for Drywall Patchings |
|---|---|
| Spring | Moderate temperatures and lower humidity facilitate adhesion. |
| Summer | Warm, dry weather supports optimal drying times. |
| Fall | Cooler temperatures prevent rapid drying that could cause cracks. |
| Winter | Not ideal due to cold temperatures and potential moisture issues. |
| Post-Damage | Immediate patching helps prevent further deterioration. |
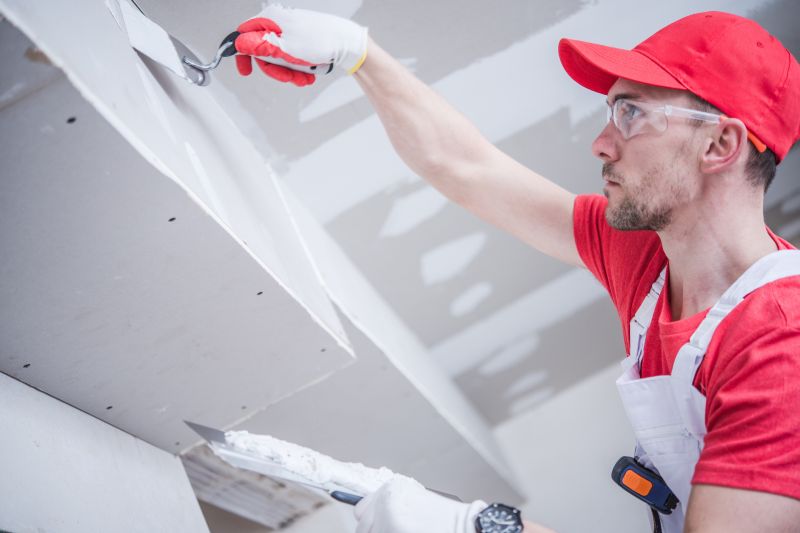
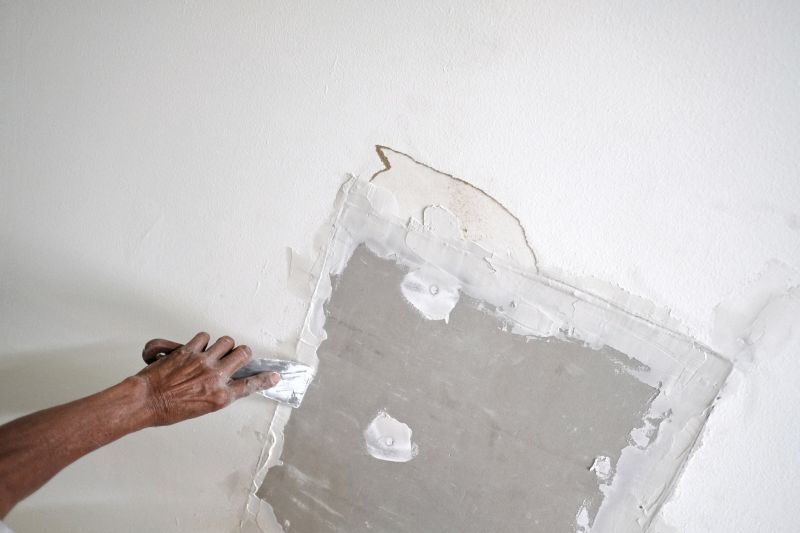
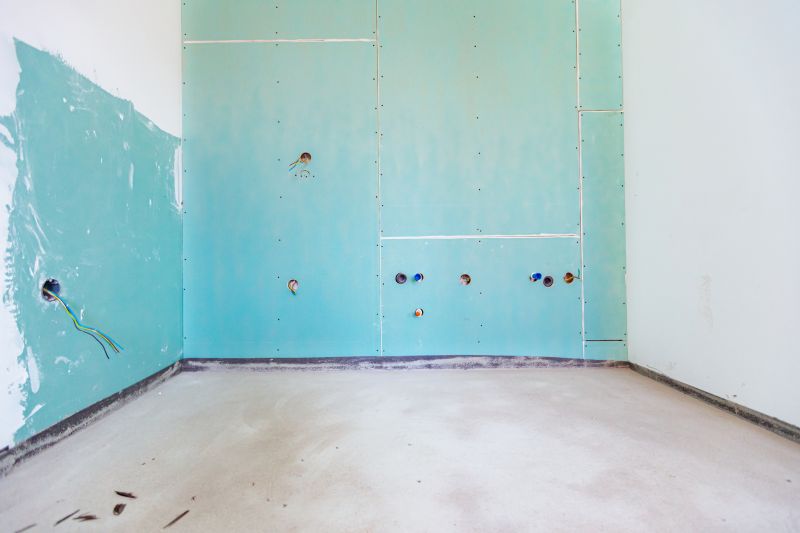
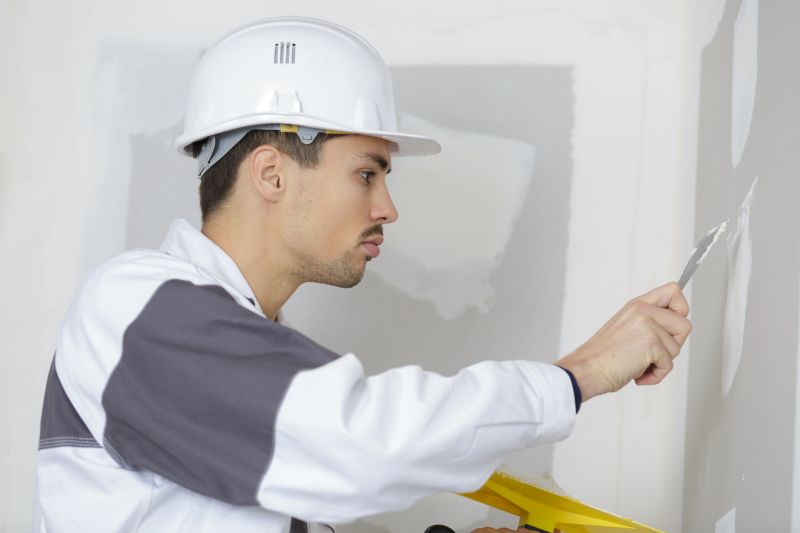
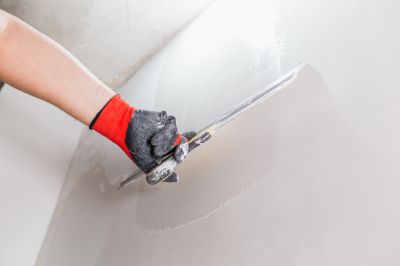
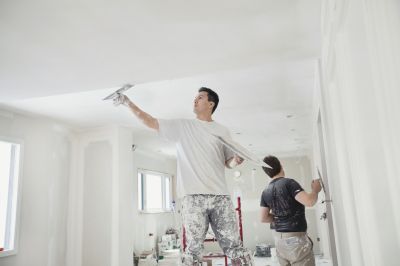
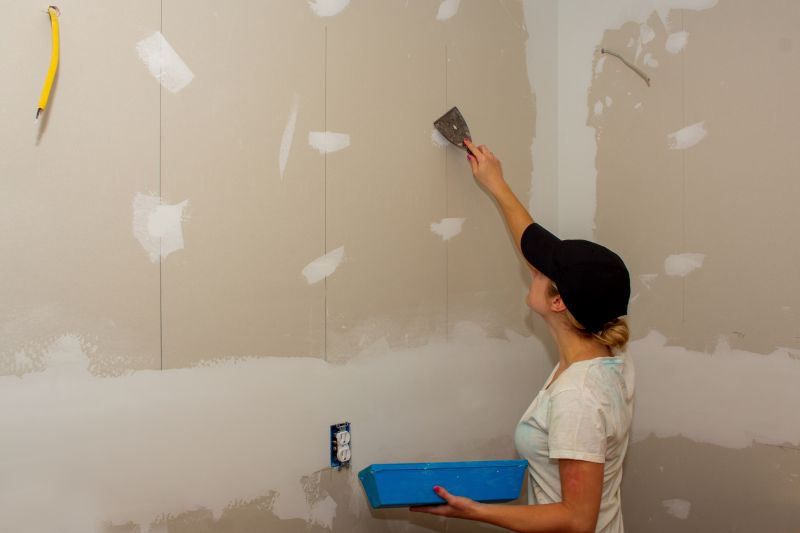
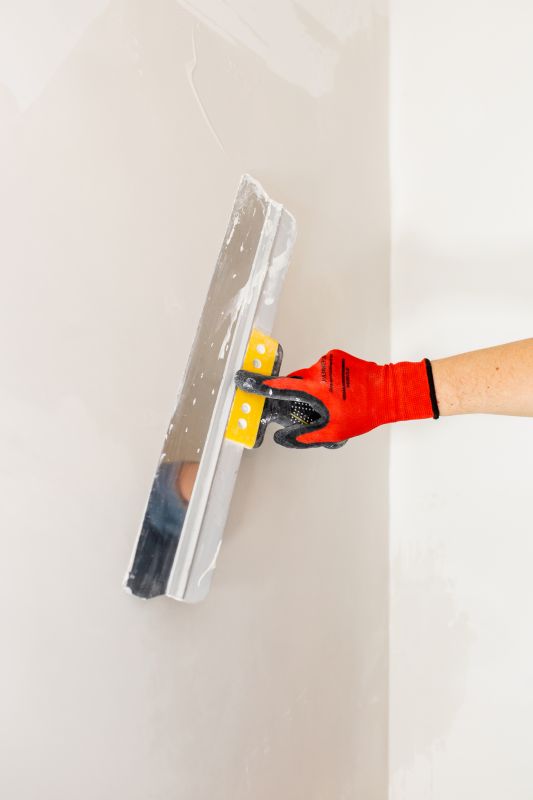
Drywall patchings involve filling holes, cracks, or damaged areas to restore wall surfaces. Proper preparation, including cleaning and priming, enhances adhesion and longevity. The process typically includes applying a joint compound, sanding, and finishing to blend repairs seamlessly with existing drywall. Statistics indicate that correctly timed patchings can extend wall lifespan by up to 50%, reducing the need for more extensive repairs later.
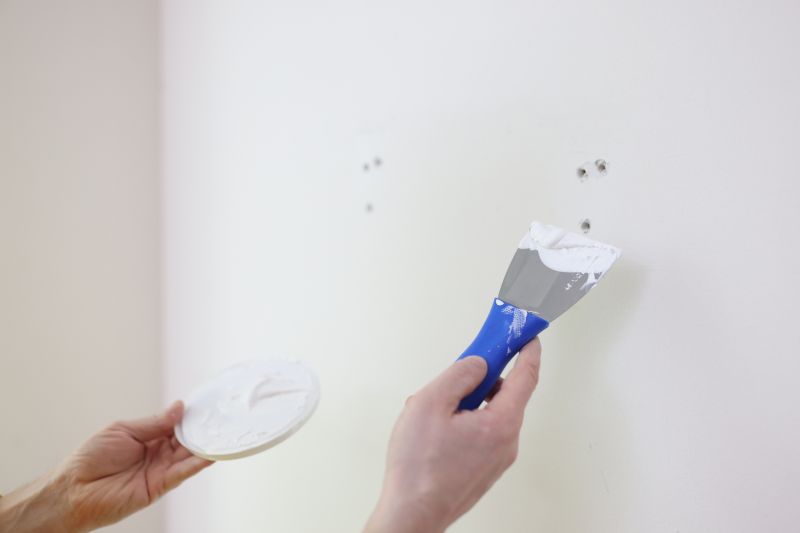
Cleaning and priming before patching improves adhesion.
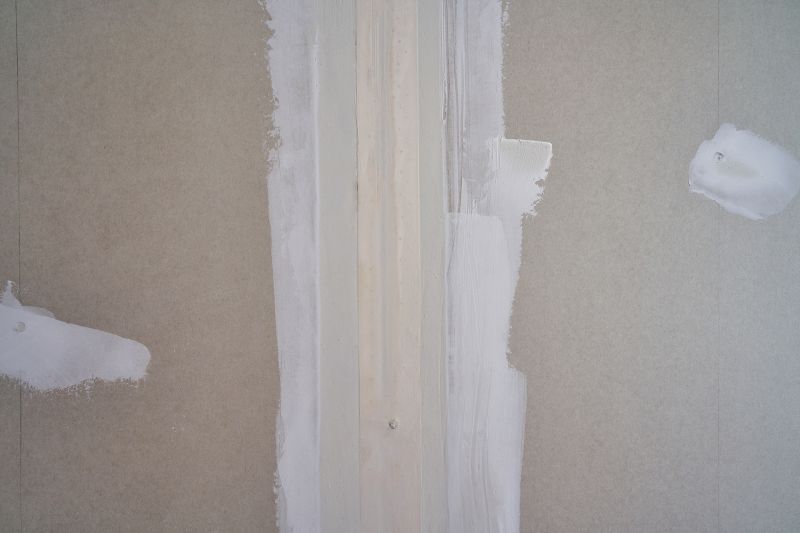
Even application ensures a smooth finish.
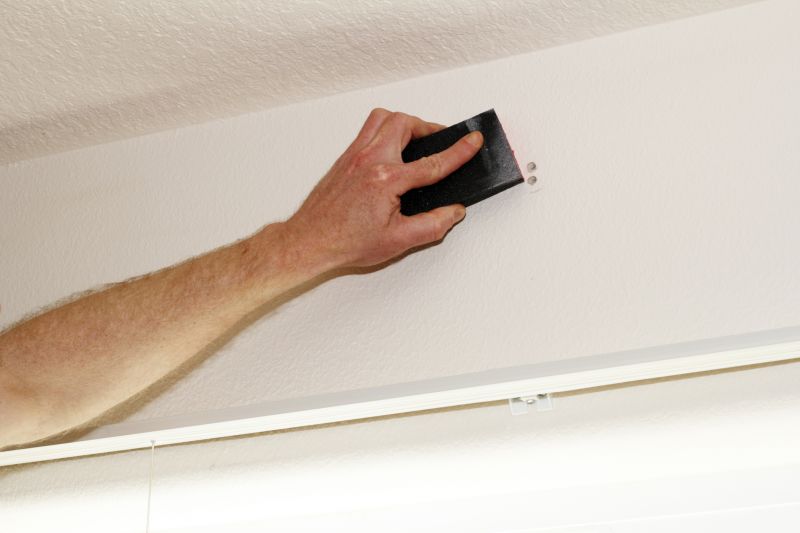
Proper sanding creates a seamless repair.
Painting over the patch completes the repair.
High-end options that actually feel worth it for Drywall Patchings.
Finishes and colors that play nicely with Drywall Patchings.

Little measurements that prevent headaches on Drywall Patchings day.
A 60-second routine that keeps Drywall Patchings looking new.
Interested in drywall patchings? Filling out the contact form can connect users with professionals to assess and perform repairs at the optimal time for lasting results.